My DIY Exfoliator That Leaves Skin Baby Smooth
Your skin’s smoothness could rival that of a newborn’s with the right exfoliator. Imagine transforming your complexion using simple, natural ingredients you likely already have at home. By harnessing the power of sugar, honey, and olive oil, you can create a gentle scrub that revitalizes your skin. Curious about how to whip up this magical mix and apply it effectively? Let’s explore the steps to achieve that radiant glow you desire.
Understanding the Importance of Exfoliation
When you think about achieving smooth, radiant skin, exfoliation often plays a crucial role in that journey.
A DIY face scrub not only sloughs away dead skin cells but also promotes cell renewal, revealing a fresher complexion.
Regular exfoliation helps enhance product absorption, allowing your serums and moisturizers to work effectively. Neglecting this crucial step can lead to rough and uneven skin texture, hindering your quest for beautiful skin.
Embrace this essential step and transform your skin into a canvas of beauty.
Ingredients You’ll Need for Your DIY Exfoliator
To craft the perfect DIY exfoliator, you’ll need a thoughtful selection of natural ingredients that cater to your skin’s unique needs. Consider essential additives that enhance exfoliation and nourish your complexion. Always keep your skin type in mind to ensure a smooth, glowing result that feels just right. Incorporating natural exfoliation into your routine can lead to a brighter and healthier complexion.
Natural Ingredients Overview
Creating a smooth, radiant complexion starts with selecting the right natural ingredients for your DIY exfoliator.
Here are three key components to consider:
-
Sugar – It’s a gentle abrasive that sloughs off dead skin cells.
-
Honey – This natural humectant hydrates while offering antibacterial properties.
-
Olive Oil – It provides moisture and nourishes your skin, leaving it soft and supple.
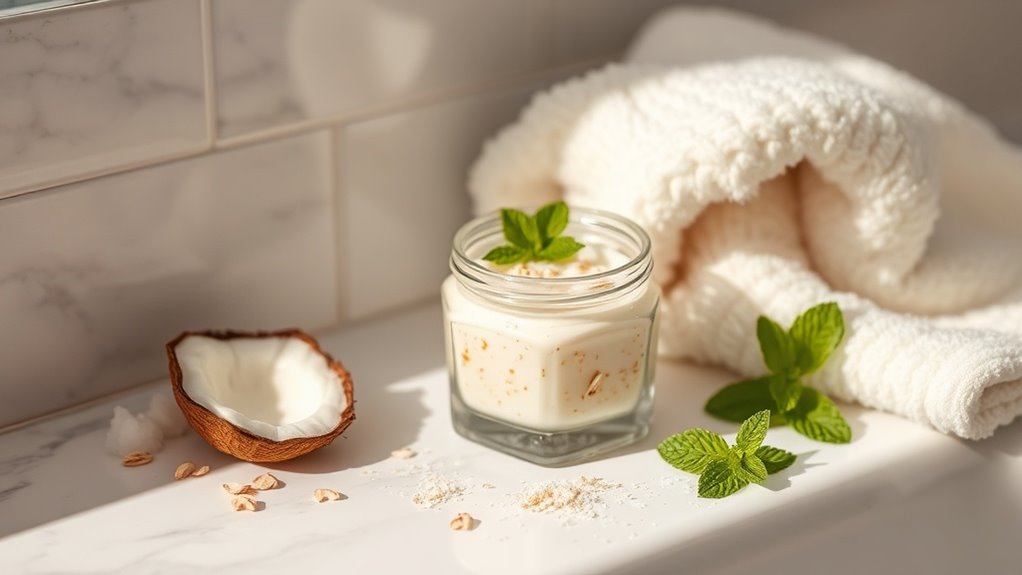
Essential Additives Selection
While crafting your DIY exfoliator, selecting the right essential additives can elevate your skincare routine to the next level.
Consider adding honey for its natural hydration, coconut oil for moisture, or tea tree oil for a gentle antibacterial boost.
These ingredients not only enhance the texture but also provide nourishing benefits, ensuring your skin feels rejuvenated and looks radiant.
Skin Type Considerations
Selecting the right ingredients for your DIY exfoliator largely depends on your skin type, as different textures and needs require tailored approaches.
Consider these options:
-
Sensitive Skin: Use finely ground oats for gentle exfoliation.
-
Oily Skin: Incorporate sugar for a deeper cleanse.
-
Dry Skin: Choose brown sugar mixed with honey to hydrate while exfoliating.
Craft your blend to achieve that irresistibly smooth glow!
Step-by-Step Guide to Making Your Exfoliator
Now that you have your ingredients ready, let’s jump into making your exfoliator.
You’ll learn the essential components that will transform your skin and the best techniques to apply it effectively. This gentle exfoliation method can help achieve a smooth, radiant complexion without causing irritation.
Get ready to achieve that smooth, glowing complexion you’ve been dreaming of!
Essential Ingredients Required
To create an effective DIY exfoliator, you’ll need a few key ingredients that work harmoniously to reveal smoother skin. Gather these essentials:
- Sugar – A natural abrasive that gently sloughs off dead skin cells.
- Olive Oil – Provides deep moisture and nourishes your skin.
- Honey – Acts as a humectant to retain hydration and offers antibacterial properties.
These components will help you achieve that baby-smooth texture!
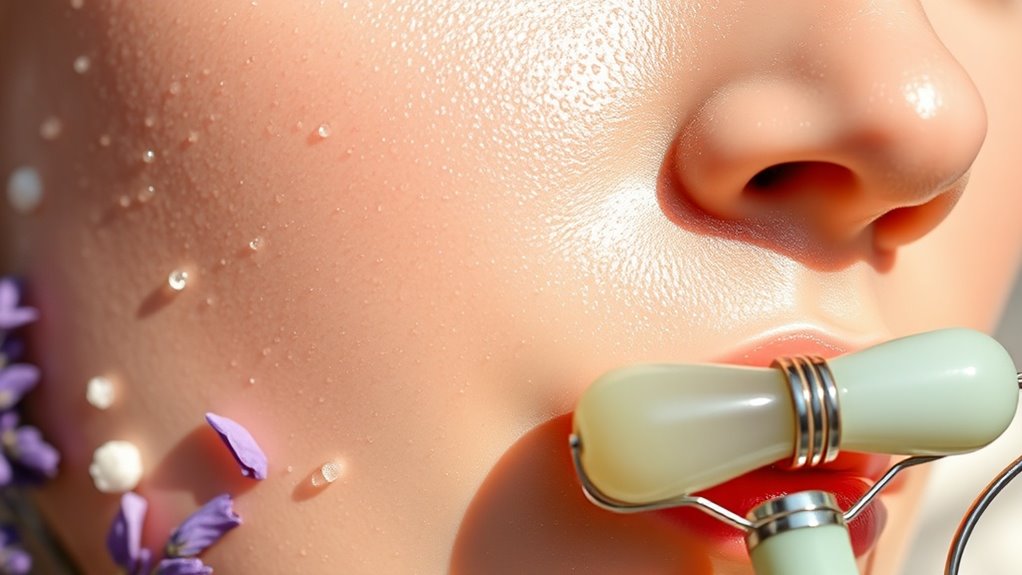
Application Techniques Explained
Creating your DIY exfoliator is just the beginning; applying it correctly is essential for achieving that smooth, radiant skin you desire. Follow these steps for optimal results:
| Step | Action | Tip |
|---|---|---|
| 1 | Apply product gently | Use circular motions |
| 2 | Focus on dry areas | Avoid sensitive zones |
| 3 | Rinse with warm water | Follow with moisturizer |
| 4 | Exfoliate weekly | Know your skin type |
How to Apply Your Exfoliator for Best Results
Applying your exfoliator correctly can make a world of difference in achieving smooth, radiant skin. Follow these steps for optimal results:
-
Wet your face: Start with damp skin to help the exfoliator glide on easily.
-
Gently massage: Use circular motions to buff away dead skin without harsh scrubbing.
-
Rinse thoroughly: Ensure all product is washed off to avoid irritation. Enjoy that baby-soft feeling! Over-exfoliating can lead to barrier damage, so it’s essential to strike a balance in your routine.
Additional Tips for Maintaining Smooth Skin
While exfoliating is essential for achieving smooth skin, maintaining that softness requires consistent care and attention.
Hydrate daily with a rich moisturizer to lock in moisture and create a barrier. Don’t forget to apply sunscreen; UV rays can cause roughness. Additionally, stay hydrated by drinking plenty of water, and nourish your skin with a balanced diet to keep it glowing and beautiful. Avoiding common moisturizing mistakes is crucial for optimal skin hydration.
Benefits of Using Natural Ingredients on Your Skin
When you choose natural ingredients for your skincare routine, you’re not just treating your skin with care—you’re embracing the pure essence of nature.
Here are three key benefits:
-
Gentle on Skin: Natural ingredients often lack harsh chemicals that can irritate.
-
Nutrient-Rich: They’re packed with vitamins and antioxidants.
-
Eco-Friendly: Using them supports sustainability and reduces your carbon footprint.
Additionally, many natural ingredients, such as those derived from science-backed ingredients, have been shown to promote youthful skin by enhancing hydration and reducing the appearance of fine lines.
Your skin deserves this natural love!