This DIY Spot Treatment Works in Just One Night
If you’ve ever woken up to an unexpected blemish, you know the frustration it brings. Luckily, there’s a DIY spot treatment that can work wonders overnight. By combining natural ingredients, you can tackle those pesky spots effectively. This method not only targets inflammation but also promotes healing. Curious about how to create this simple remedy and maximize its benefits? Let’s explore the ingredients and steps you’ll need for clear skin by morning.
Key Takeaways
- This DIY spot treatment combines tea tree oil, witch hazel, aloe vera, and lavender for effective overnight results against blemishes.
- Apply the mixture using a clean fingertip or cotton swab to targeted areas before bed for maximum absorption.
- Let the treatment dry completely to enhance its effectiveness and prevent irritation before adding other skincare products.
- Consistent application over a few nights promotes healing and reduces the prominence of dark spots significantly.
- Maintain clean and moisturized skin while avoiding heavy creams to support the treatment’s effectiveness and overall skin health.
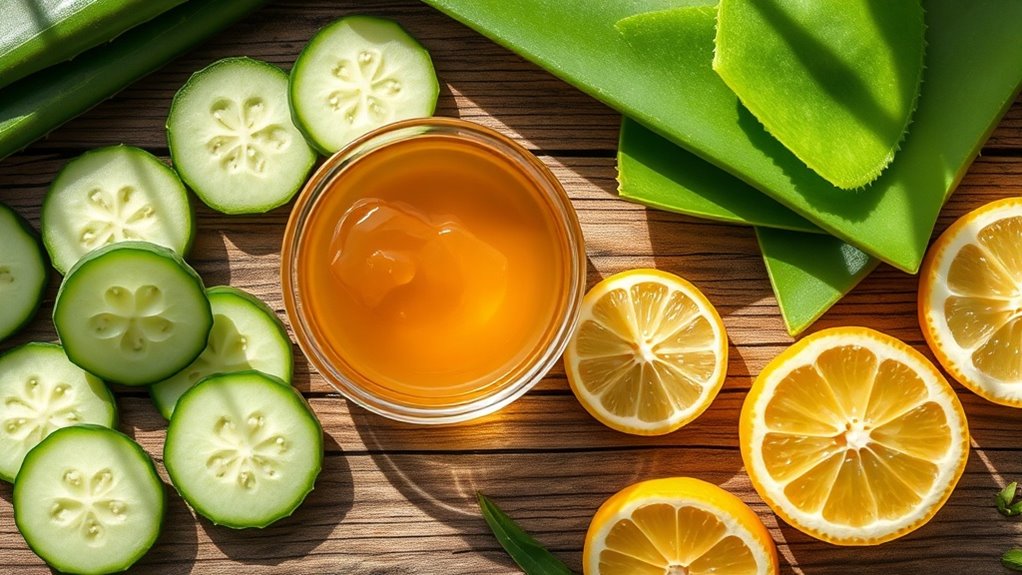
Ingredients You’ll Need
To create your own effective spot treatment, you’ll need a handful of key ingredients that pack a powerful punch against blemishes.
Start with tea tree oil, known for its antibacterial properties, which helps reduce inflammation.
Add a little witch hazel, a natural astringent that tightens pores and soothes irritation.
Don’t forget aloe vera gel, which hydrates and calms the skin.
Finally, mix in a few drops of lavender essential oil for its soothing scent and additional antibacterial benefits.
In addition to these ingredients, consider incorporating DIY dark spot serum for enhanced effectiveness against stubborn marks.
With these ingredients, you can whip up an overnight pimple treatment that’ll have you waking up to clearer skin and renewed confidence.
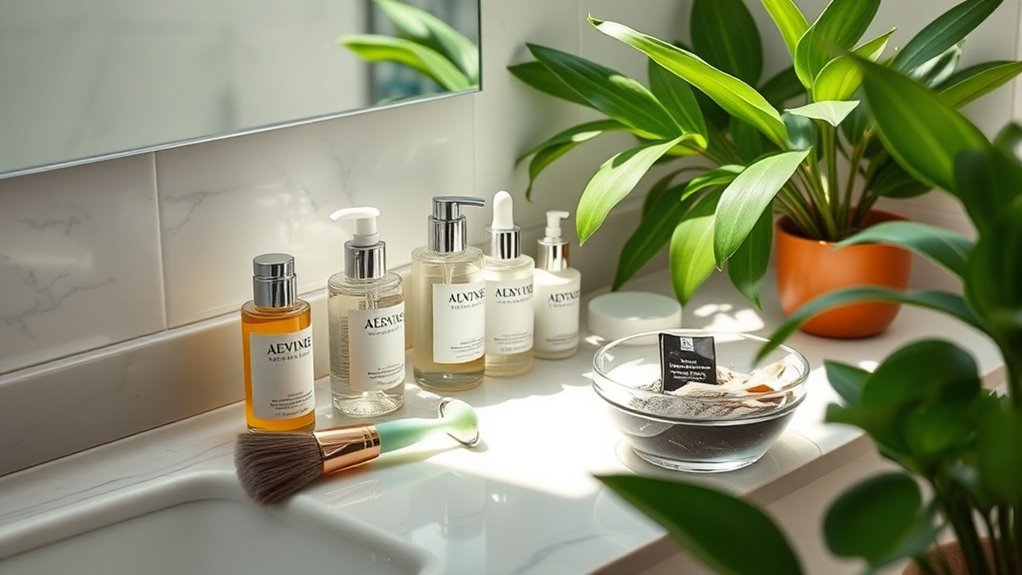
Step-by-Step Instructions
Creating your DIY spot treatment is a simple process that takes just a few minutes.
Crafting your own spot treatment is quick and easy, taking only a few minutes to prepare.
First, gather your ingredients and tools, ensuring everything’s ready for a smooth application.
Then, follow these steps:
-
Mix the ingredients: Combine your chosen components in a small bowl until you achieve a smooth paste.
-
Apply to the affected area: Using a clean fingertip or cotton swab, gently dab the mixture onto the blemish.
-
Let it sit overnight: Allow the treatment to work its magic while you sleep, and rinse it off in the morning. This natural ingredient is known to effectively transform dark spots, providing you with clearer skin by morning.
You’ll wake up to clearer skin, ready to face the day!
Tips for Best Results
After applying your DIY spot treatment, there are several tips to keep in mind for achieving the best results.
First, let the treatment dry completely before layering any other products, as this allows it to work effectively.
Avoid touching or picking at your blemishes, which can worsen irritation or scarring.
For optimal results, apply the treatment before bed, letting it work overnight.
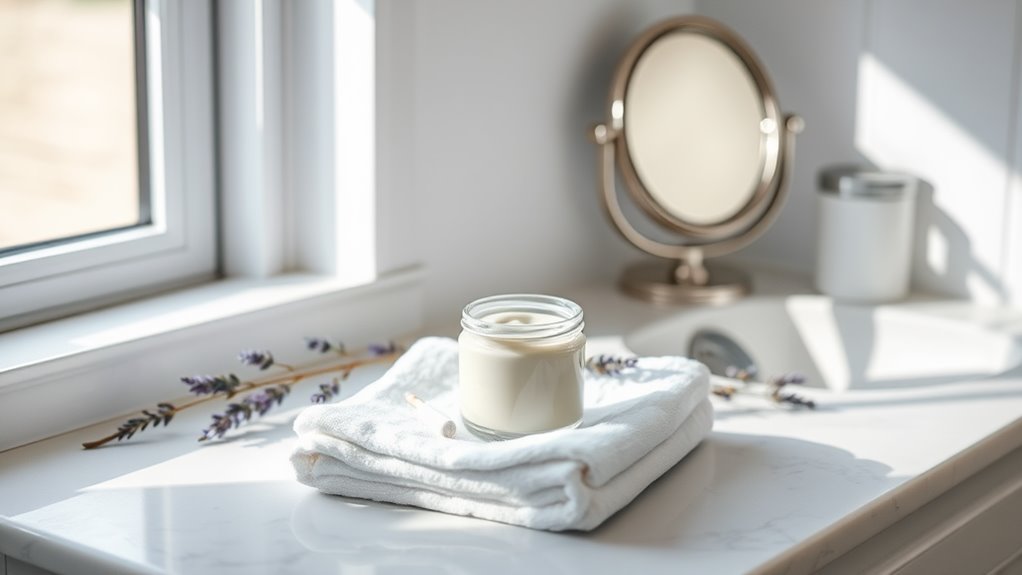
Keep your skin clean and moisturized, but steer clear of heavy creams that might clog pores.
Lastly, stay hydrated and eat a balanced diet—healthy skin starts from within, complementing your external treatments beautifully. Consuming foods that trigger acne can negatively impact your skin, so be mindful of your dietary choices.
How It Works
Ever wondered how DIY spot treatments can effectively target blemishes?
These treatments work by combining powerful ingredients that penetrate the skin, reducing inflammation and redness overnight.
DIY spot treatments harness potent ingredients to penetrate the skin, alleviating inflammation and redness by morning.
Here’s how they help:
-
Antibacterial properties: Ingredients like tea tree oil fight bacteria, preventing further breakouts.
-
Exfoliation: Acids like salicylic acid slough off dead skin cells, unclogging pores and promoting healing. Salicylic acid is especially effective due to its ability to unclog pores and reduce acne formation.
-
Anti-inflammatory agents: Natural substances like aloe vera soothe irritation, calming your skin.
With the right blend, you’ll see significant improvement by morning, making those pesky spots less prominent and giving you the confidence to face the day.
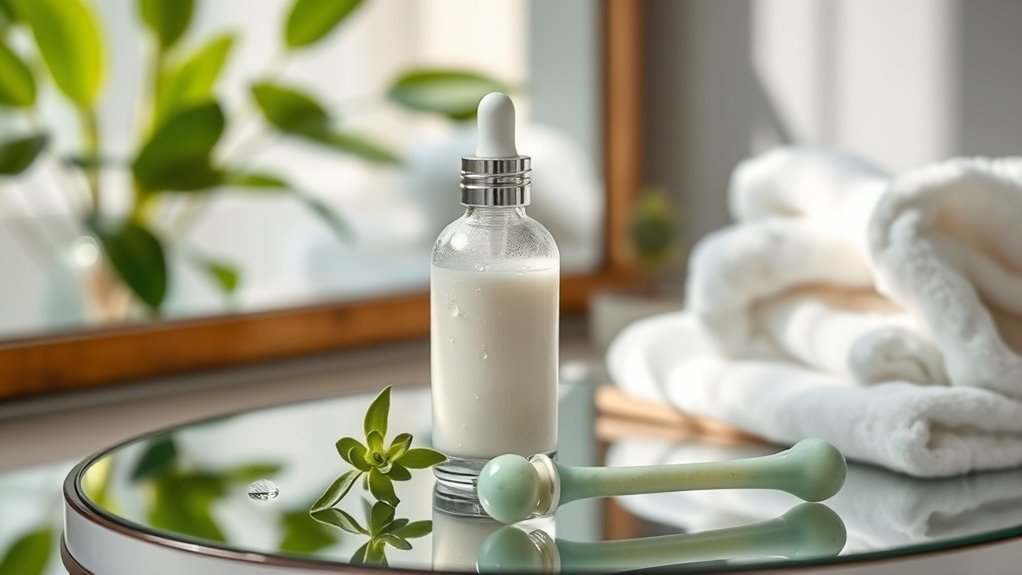
Aftercare and Maintenance
Proper aftercare and maintenance are crucial for achieving lasting results from your DIY spot treatments.
After applying your treatment, keep the area clean and moisturized to prevent irritation. Avoid touching or picking at the affected spot, as this can exacerbate inflammation.
Use a gentle cleanser and follow up with a soothing serum or lotion. Consider applying your treatment consistently for a few nights to ensure maximum effectiveness. Incorporating a gentle cleansing routine can further enhance skin hydration and prevent over-drying.
Additionally, stay hydrated and maintain a balanced diet; what you put in your body reflects on your skin. With these simple steps, you’ll enhance your spot treatment’s success and promote overall skin health.