This DIY Mask Helped My Dry Skin Instantly
This DIY mask will instantly revive your dry skin, delivering rich hydration from natural ingredients like honey, avocado, and oatmeal. Honey locks in moisture, while avocado boosts elasticity, and oatmeal soothes irritation. Apply the mask for 15 to 20 minutes on a clean face for maximum effect, and rinse with lukewarm water. Follow up with your favorite moisturizer to seal in all that goodness. Discover more tips and techniques for achieving vibrant, hydrated skin!
Key Takeaways
- The DIY mask combines honey, avocado, and oatmeal for immediate hydration and soothing effects on dry skin.
- Honey serves as a natural humectant, attracting moisture and leaving skin soft and supple.
- Avocado deeply hydrates and nourishes skin, improving elasticity and combating dryness effectively.
- Oatmeal calms irritation, reduces redness, and creates a protective barrier to lock in moisture.
- Regular use of the mask enhances skin texture, radiance, and resilience against dryness.
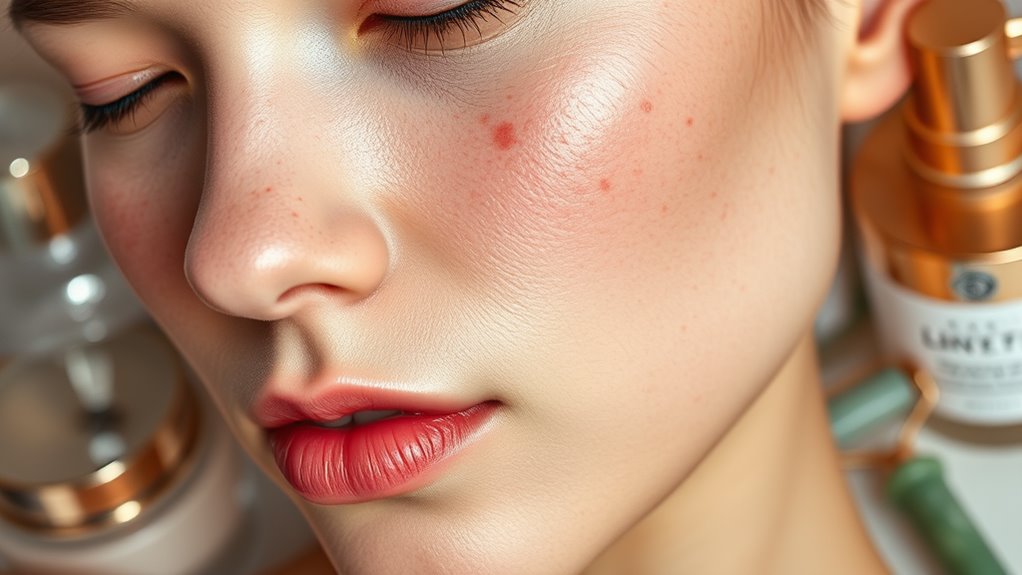
Understanding Dry Skin
Understanding dry skin is essential for anyone looking to restore their skin’s natural moisture balance. When your skin lacks hydration, it can lead to tightness, flakiness, and even irritation. You might notice a dull appearance, which can impact your overall confidence.
Factors like harsh weather, hot showers, and certain skincare products can exacerbate dryness. To combat this, a dry skin mask can be a game changer, providing immediate relief and hydration.
These masks often contain nourishing ingredients that penetrate deeply, reviving your skin’s suppleness. Incorporating a dry skin mask into your routine not only soothes but also helps to lock in moisture, promoting a radiant complexion. Proper hydration is key to alleviating the discomfort caused by tight, dry skin.
Understanding your skin’s needs is the first step toward achieving that healthy glow.
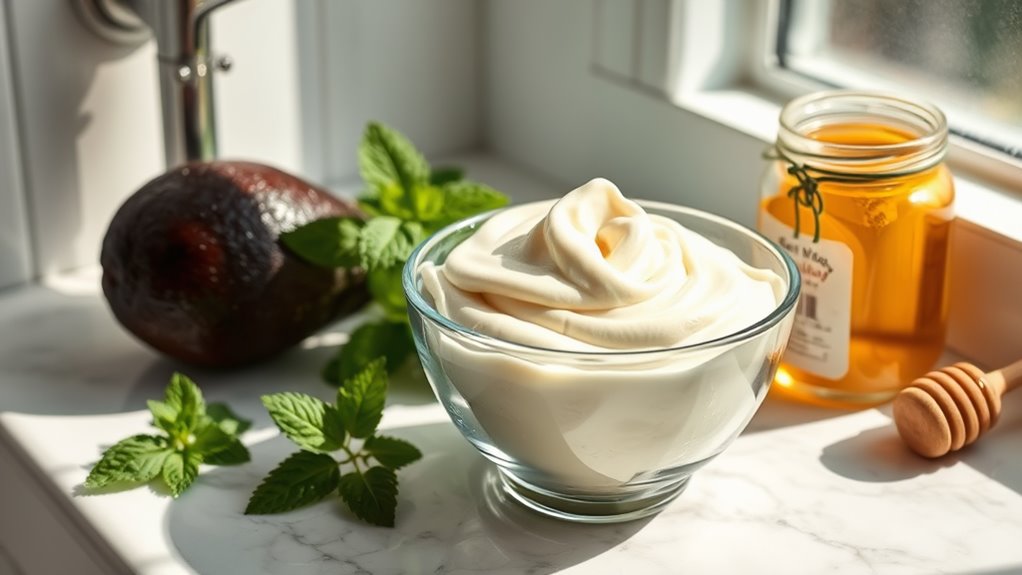
Key Ingredients for the DIY Mask
When crafting your DIY mask, think about the incredible benefits of honey, avocado, and oatmeal. Honey’s hydrating properties lock in moisture, while creamy avocado nourishes your skin with essential fatty acids. Oatmeal soothes irritation, making this trio a powerhouse for combating dryness and restoring your skin’s glow. Additionally, incorporating this easy DIY hydrating mask can enhance your skincare routine, providing even more nourishment and hydration.
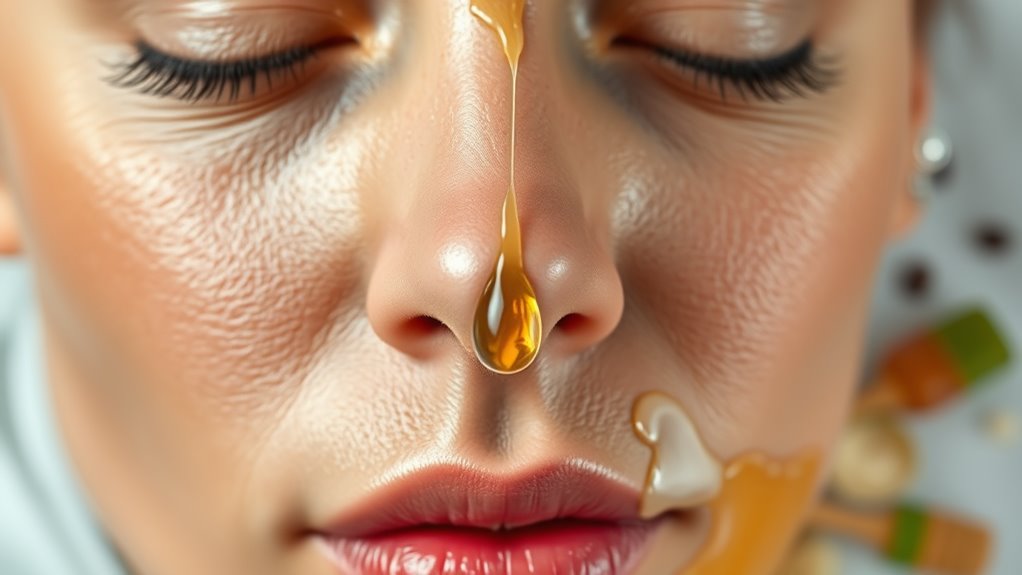
Hydrating Power of Honey
Honey, often referred to as nature’s golden elixir, boasts incredible hydrating properties that make it an essential ingredient in your DIY mask for dry skin.
Its natural humectant qualities attract moisture from the environment, locking it into your skin for lasting hydration. When you apply honey, it not only soothes and softens your skin but also helps to create a protective barrier against dryness.
Rich in antioxidants, honey aids in skin repair, promoting a youthful and radiant complexion. You’ll love how it enhances your skin’s elasticity while providing a subtle glow.
Incorporate a generous scoop into your DIY mask, and watch as your skin drinks in the nourishment, transforming into a supple, hydrated canvas.
Nourishing Avocado Benefits
Avocado is a powerhouse of nourishment that your dry skin will absolutely love. Packed with healthy fats, it deeply hydrates while promoting skin elasticity.
The rich vitamins E and C in avocado help protect your skin from oxidative stress, leaving it looking vibrant and youthful. Its natural oils penetrate the skin barrier, providing essential moisture that combats dryness and flakiness.
Plus, the antioxidants in avocado can soothe irritation and promote healing, making it ideal for sensitive skin types.
When you incorporate avocado into your DIY mask, you’re not just pampering yourself; you’re delivering potent nutrients that rejuvenate and nourish your skin.
You’ll notice the difference immediately, transforming your complexion into a radiant canvas that feels as good as it looks.
Soothing Oatmeal Properties
Oatmeal stands out as a remarkable ingredient for your DIY mask, especially when it comes to soothing dry skin. Its unique properties nourish and calm your skin, helping you achieve that coveted hydrated glow.
Here’s why oatmeal deserves a spot in your skincare routine:
-
Anti-inflammatory: Reduces redness and irritation, calming sensitive skin.
-
Moisture retention: Forms a protective barrier, locking in essential hydration.
-
Gentle exfoliation: Sloughs off dead skin cells without irritation, promoting softness.
-
Rich in antioxidants: Fights free radicals, maintaining your skin’s youthful appearance.
Incorporating oatmeal into your DIY mask not only enhances its effectiveness but also elevates your skincare experience.
With these soothing benefits, you’re well on your way to achieving beautifully nourished skin.
Step-by-Step Preparation
Now that you know the key ingredients for your DIY mask, it’s time to get started on the preparation.
First, gather all the necessary items to ensure a smooth process, then use the right mixing techniques for a perfect blend.
Finally, I’ll guide you through the application method to maximize the benefits for your dry skin. Additionally, consider how often-overlooked factors like environmental conditions and diet may be impacting your skin’s hydration levels.
Gather Necessary Ingredients
To create an effective DIY mask for dry skin, you’ll need just a few key ingredients that work wonders for hydration and nourishment.
Gathering these items will set you up for success in achieving that glowing complexion you’ve been longing for. Here’s what you’ll need:
- Avocado: Rich in healthy fats, it deeply moisturizes your skin.
- Honey: A natural humectant, honey attracts moisture and locks it in.
- Greek Yogurt: Packed with probiotics, it soothes and rejuvenates dry skin.
- Olive Oil: Loaded with antioxidants, it provides extra hydration and softness.
Once you’ve collected these ingredients, you’ll be well on your way to making a nourishing mask that rejuvenates your skin.
Let’s dive into the next steps!
Mixing Technique Tips
Creating your DIY mask is a straightforward process that can be broken down into just a few simple steps.
Start by measuring your ingredients accurately—this ensures the perfect balance for your skin. Use a clean, non-metal mixing bowl to avoid any chemical reactions.
Begin with the heavier ingredients, like honey or yogurt, and mix them until smooth. Gradually add lighter ingredients, such as essential oils or aloe vera, incorporating each one thoroughly before adding the next.
Use a whisk or a spatula for a consistent blend; avoid over-mixing, as this can introduce air bubbles that may affect the mask’s texture.
Once you achieve a creamy consistency, you’re ready to move on to the application!
Application Method Explained
Begin your mask application by ensuring your face is clean and dry. This sets the perfect foundation for your skin to absorb all the nourishing ingredients.
Follow these steps for optimal results:
-
Gather your tools: A brush or your fingers for even application.
-
Apply evenly: Start from your forehead and work your way down, making sure to cover all areas without overloading.
-
Leave it on: Allow the mask to sit for 10-15 minutes, giving your skin ample time to soak in the goodness.
-
Rinse thoroughly: Use lukewarm water to gently wash it off, revealing refreshed, hydrated skin.
With these steps, you’re on your way to achieving that coveted glow! Enjoy the transformation.
Application Process
Applying your DIY mask for dry skin is a straightforward process that can be both enjoyable and beneficial for your complexion.
Start by thoroughly cleansing your face to remove any dirt or makeup; this ensures that your skin absorbs the mask effectively. Once your skin is clean, gently pat it dry with a soft towel.
Next, take a generous amount of your prepared mask and apply it evenly across your face, avoiding the eye area. Use your fingertips for a gentle massage, allowing the ingredients to penetrate deeply.
Leave the mask on for about 15-20 minutes, then rinse off with lukewarm water, ensuring all residues are removed. Additionally, incorporating effective strategies to hydrate your skin can enhance the benefits of your mask.
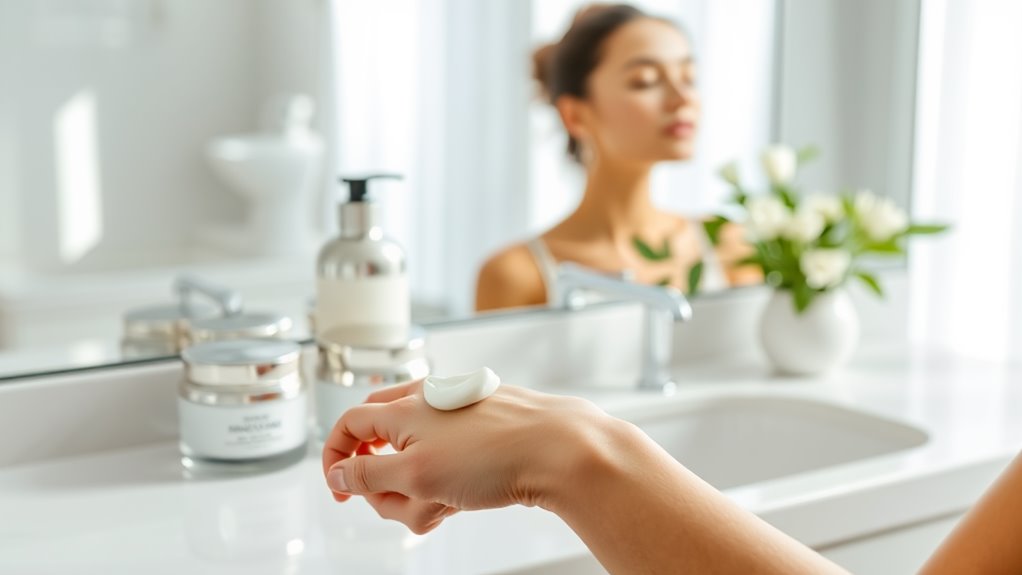
Finally, pat your face dry again, and follow up with your favorite moisturizer for optimal hydration.
Expected Benefits
When you indulge in a DIY mask for dry skin, you can expect a range of remarkable benefits that rejuvenate and nourish your complexion. This simple yet effective treatment not only hydrates but also revitalizes, leaving your skin feeling fresh and radiant.
-
Intense Hydration: Deeply moisturizes to combat dryness.
-
Improved Texture: Smoothens rough patches for a silky feel.
-
Radiant Glow: Enhances your skin’s natural luminosity.
-
Soothing Effect: Calms irritation and redness for a balanced look.
With consistent use, you’ll notice your skin becoming more resilient and vibrant. Additionally, incorporating gentle cleansing into your routine will help maintain hydration by effectively removing impurities without over-drying your skin.
Embrace this nourishing ritual, and watch your complexion transform into a healthier, more youthful version of itself. Your skin will thank you for the care and attention!
Tips for Best Results
For the best results with your DIY mask for dry skin, follow a few key tips that can enhance its effectiveness and boost your skin’s health.
First, always start with a clean face; this allows the mask to penetrate deeply.
Next, warm your mask slightly before application to open your pores and encourage absorption.
Apply it evenly, focusing on dry areas, and let it sit for the recommended time—typically 15 to 20 minutes.
Rinse with lukewarm water, as this helps maintain moisture.
Finally, finish with a gentle moisturizer to lock in hydration.
Consistency is key, so incorporate this mask into your routine weekly for optimal results, and watch your skin transform into a radiant, hydrated canvas.
Additional Skincare Recommendations
To maintain the benefits of your DIY mask and further enhance your skincare routine, consider incorporating additional recommendations tailored for dry skin.
These strategies can help lock in moisture and improve your skin’s overall health:
-
Hydrating Cleanser: Choose a gentle, creamy cleanser that won’t strip your skin’s natural oils.
-
Moisturizing Toner: Opt for an alcohol-free toner packed with hydrating ingredients like hyaluronic acid or glycerin.
-
Weekly Exfoliation: Use a mild exfoliant to remove dead skin cells, ensuring better absorption of your mask and moisturizers.
-
Night Cream: Apply a rich night cream before bed to nourish and repair your skin while you sleep.